Hue gallery
This article was originally published in the December 2016 issue of net magazine. Philips released Hue Sync a few years later, which is a better, official way of achieving a similar effect to that described below.
In 2008, the number of internet-connected things exceeded Earth’s human population. By 2020, that number is expected to eclipse 50 billion. As processors, sensors, and wireless radios become smaller and more accessible, use cases for these devices are flourishing.
At home, the Internet of Things (IoT) is finding its place in the lives of everyday people. Good IoT devices for the home share many similarities with good websites: they’re built for a purpose, progressively enhance with better connectivity, and bring delight to the user.
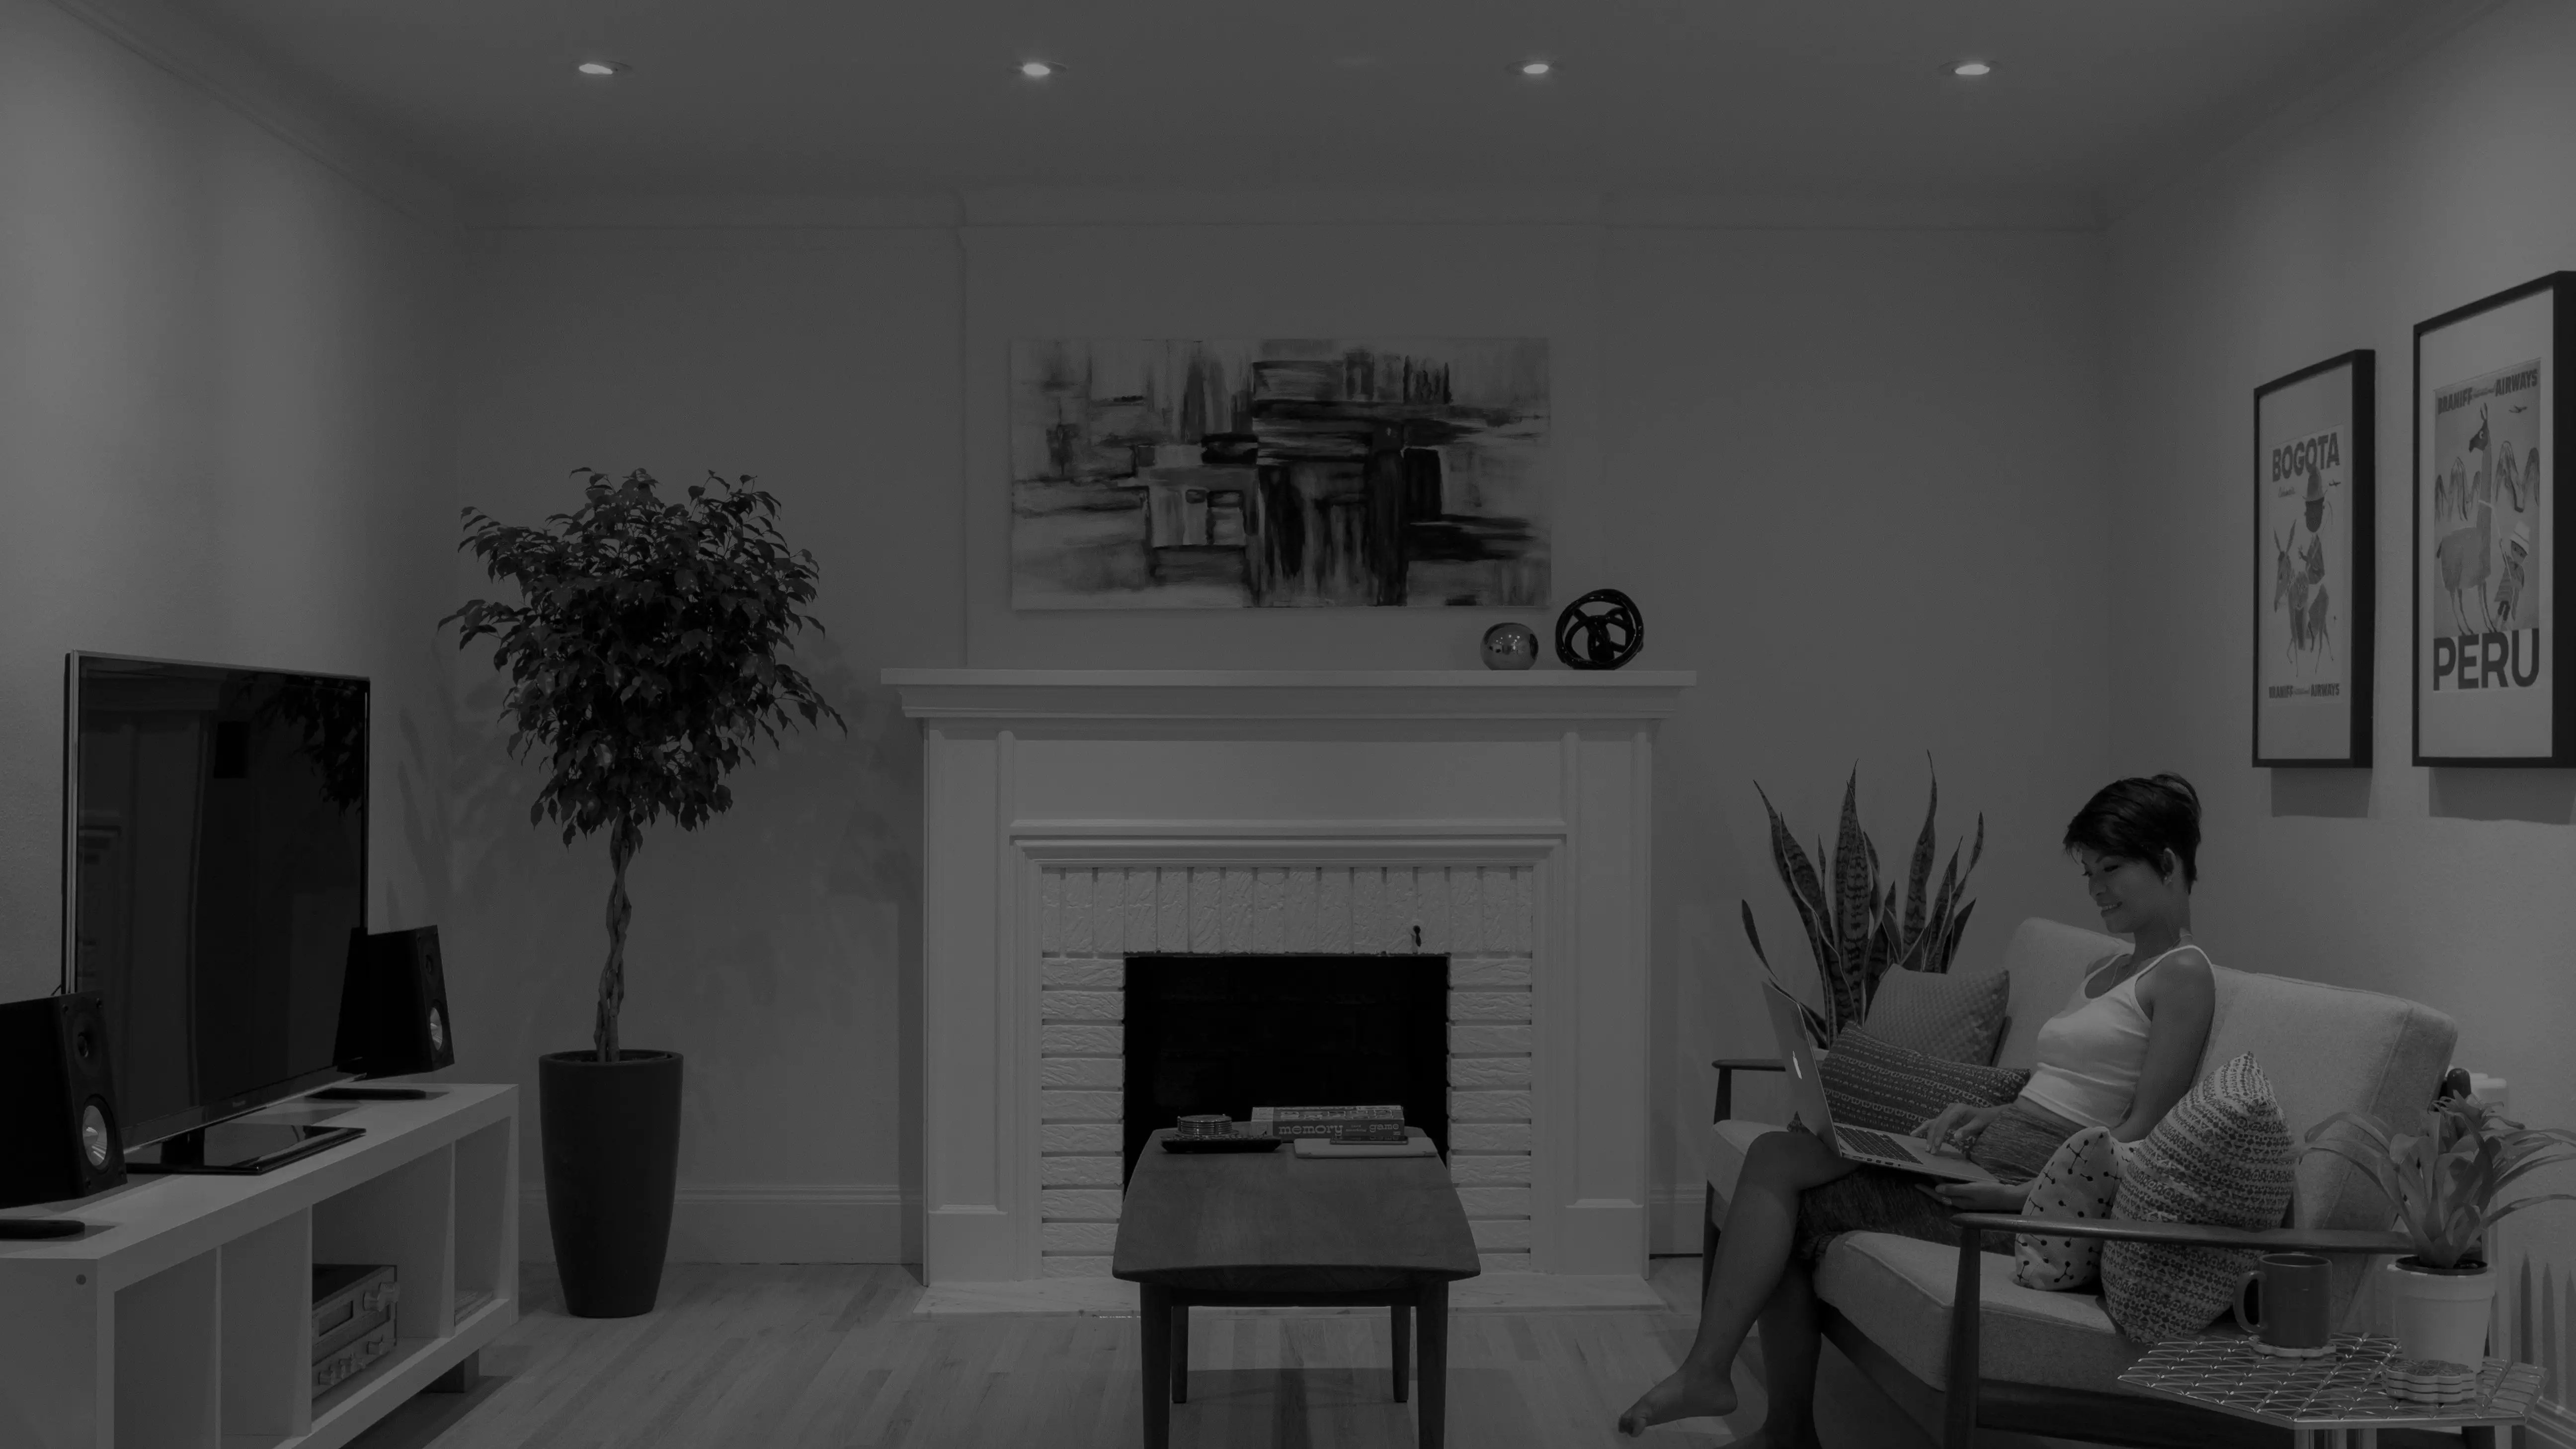
One such example is the Philips Hue wireless lighting system. On the surface, Hue light bulbs look and function like any other bulb, but they can also be controlled wirelessly with the Philips Hue app or API. Each bulb contains three different types of LED for a variety of white and colour combinations as well as a ZigBee1 module for wireless communication. A Hue Bridge connects to a home’s internet router and provides a RESTful API for apps to interface with the lights.
As a developer, having an API for your lights creates some interesting opportunities. I’ve written apps to make my lights flash green when the latest iPhone was in stock at the local Apple store, and flash red when my favourite hockey team scored in the NHL playoffs. These apps were utilitarian and disposable in nature, but at Black Pixel I worked with my team2 to come up with a more captivating experience for Hue.
For immersive photo browsing, we built a client-side web app that extracts an image’s colour palette and sends it to the Philips Hue API. As an image scrolls into view in the app, the user’s environment responds to that image, enhancing the overall viewing experience.
In this tutorial, we’ll show you how to create the client-side app, work with the Philips Hue API, and build a web-based IoT experience.
Getting started
- Let’s start by kicking off a new project. At Black Pixel, we have an open-source web starter kit that provides a solid foundation for building modern websites. That’s what we’ll use here.
Once the starter kit’s dependencies are installed with npm install, start the local development server with npm start.
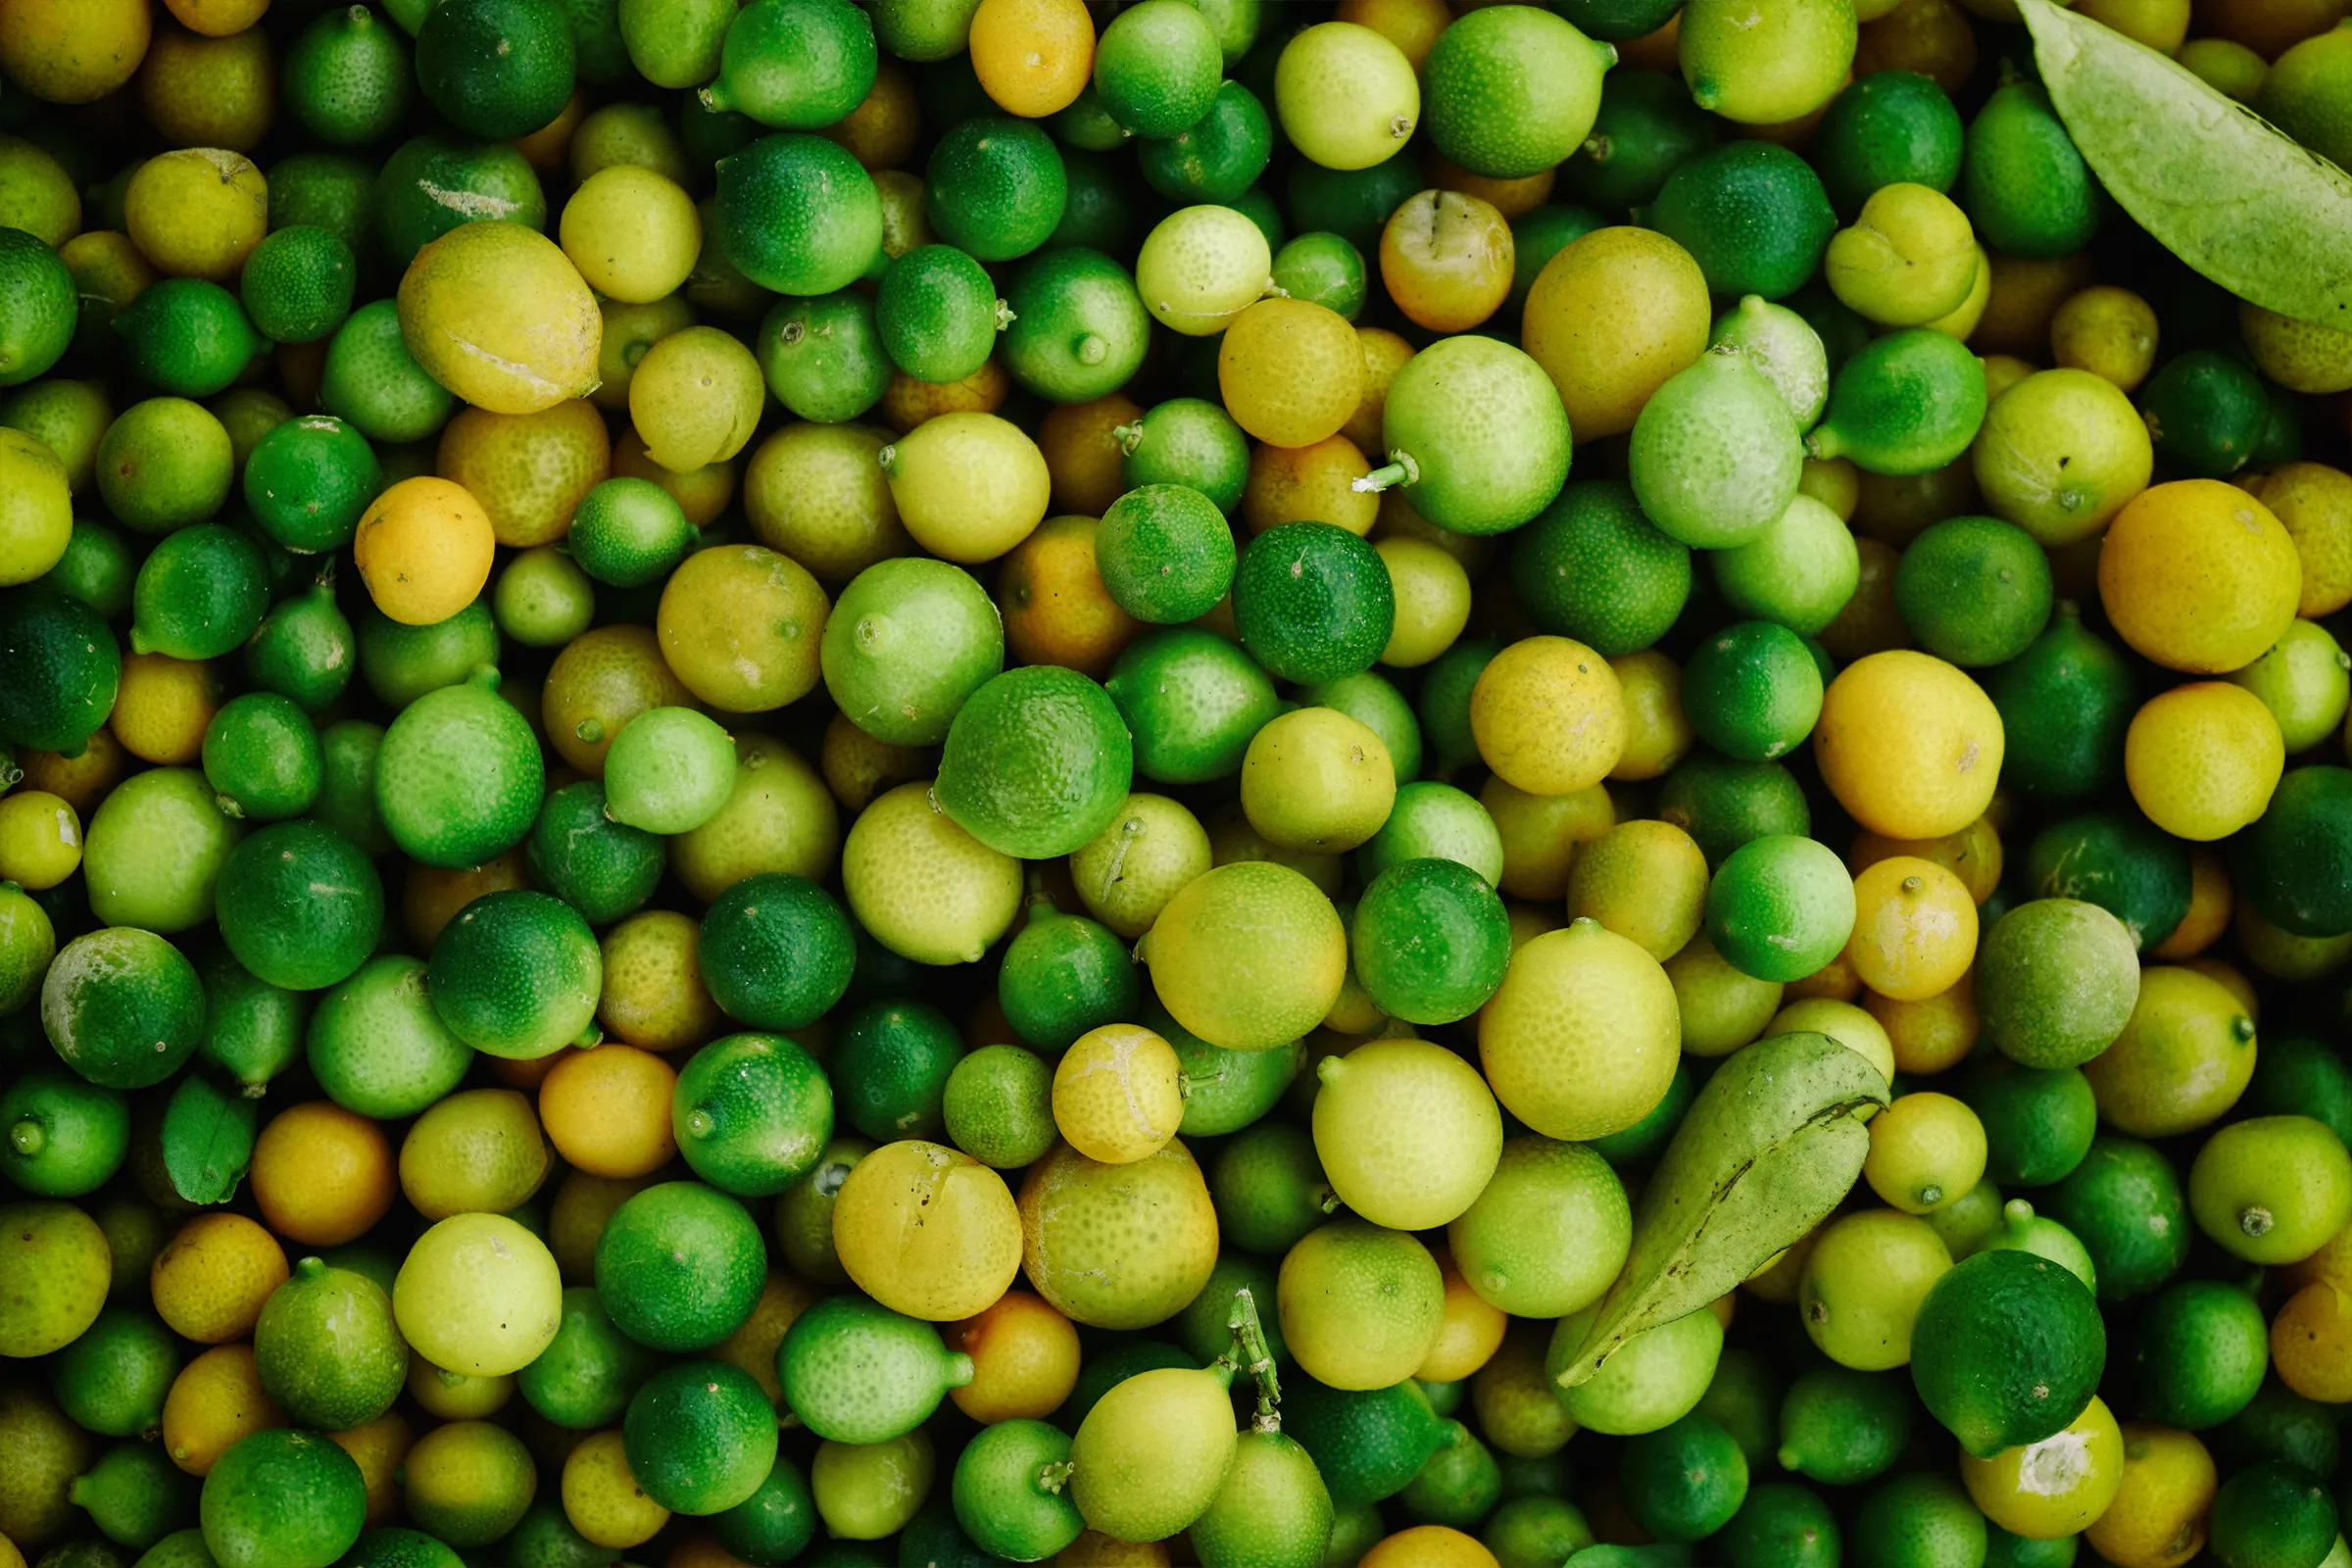
- Next we’ll build a basic scrolling image gallery. Select a handful of colourful images from Unsplash and add them to
src/views/index.html. If you’re feeling adventurous, you could hook into the Unsplash API and programmatically fetch images. For now, we’ll assume you’re doing this manually.
We only want one image showing in the viewport at a time, so let’s wrap our images in container elements and give each container a height of 100vh. While we’re at it, let’s use flexbox to vertically and horizontally center the images within their containers.
<!-- index.html -->
<div class="ImageContainer">
  <img src="https://images.unsplash.com/photo-1234…" />
</div>
/* index.css */
.ImageContainer {
  align-items: center;
  display: flex;
  height: 100vh;
  justify-content: center;
}
- To extract the colour palette from our images, we’ll use a JavaScript library called Color Thief. Color Thief works by copying an image to a
<canvas>element, so its raw pixel data can be accessed by JavaScript. The library then extracts the image’s RGB pixel values, quantizes them based on an algorithm from the Leptonica Library, and returns an array of RGB arrays.
Basic Color Thief usage looks something like this:
const colorThief = new ColorThief();
const sourceImage = document.getElementById(‘myImage’);
colorThief.getPalette(sourceImage, 3);
// returns [[135, 206, 235], [0, 206, 209], [238, 59, 26]]
To run Color Thief on each image in our page, we’ll first build an array of image elements with document.getElementsByTagName(‘img’). Now we can iterate over this array, calling colorThief.getPalette() on each item and writing the resulting RGB data to a colorCache object that’s keyed by a hash of the image src. We should also add an event listener to our forEach loop to make sure each image is loaded before we send it to Color Thief.
const images = document.getElementsByTagName('img');

function getSwatches(key, img) {
  const colors = thief.getPalette(img, 3);
  colorCache[key] = colors;

  return colorCache[key];
}

function getPalette() {
  forEach(allImages, (img) => {
    const key = md5(img.getAttribute('src'));

    img.addEventListener(
      'load',
      (e) => {
        getSwatches(key, e.target);
      },
      false
    );
  });
}
- Before we look at scroll events and the Philips Hue integration, let’s write some code to visualize each photo’s dominant palette in the browser. We’ll create a
printSwatches()function that appends a div with class.SwatchContainerto our image container, and call this function fromgetSwatches(). We passprintSwatches()the colors array and the current image element so it knows where to append the swatch container. Next, we’ll iterate over the colors array and append.Swatchelements within the swatch container, setting the background colour of each element as we go. We’ll also add a few lines of CSS to style the swatches, and addflex-direction: column;to our image container so they appear below each image.
function printSwatches(colors, img) {
  const elSwatchBox = document.createElement('div');
  elSwatchBox.classList.add('SwatchBox');
  img.parentNode.appendChild(elSwatchBox);

  forEach(colors, (color) => {
    const elSwatch = document.createElement('div');
    elSwatch.classList.add('Swatch');
    elSwatch.style.backgroundColor = `rgb(${color[0]}, ${color[1]}, ${color[2]}`;
    elSwatchBox.appendChild(elSwatch);
  });
}
Improving colour quality
While Color Thief’s modified median cut algorithm does an accurate job extracting colours from image data, the resulting palette isn’t always the most interesting. For instance, if a source image is primarily neutral with just a few accent colours, Color Thief will display the neutral tones before any accents. While this is technically accurate in terms of raw pixel quantity, for our use case we’re more interested in brighter colours.
To improve the extracted palette, we’ll first have Color Thief to return more colours than we need for our calls to the Hue API. In the colorThief.getPalette() method, the second parameter controls the number of colours returned. We’ll ask for ten, and work on culling the final count down to three.

The colour properties we’re most interested in weighing here are lightness and saturation, so we’ll run the RGB values through a rgbToHsl() function so they’re easier to work with. With the resulting hue, saturation, and lightness values, we can get to work refining our palette.
The first step in refining our colour palette is the elimination of dark tones, as we’re not looking for a roundabout way of turning our lights off. We’ll reduce the dark tones by way of lodash’s filter() method, removing any colour with a lightness value less than twenty percent from our array.
filter(colors, (color) => color[2] * 100 > 20);
Next, we’ll sort the remaining colours in descending order of saturation. This will reduce the chances of any bright neutrals making their way into the top three colours we send to Hue. This too is trivial with help from lodash.
sortBy(colors, (color) => -color[1]);
Lastly, we’ll convert the colour values back to RGB and return the top 3 items for our new and improved palette.
- We’ve already enlisted CSS’
vhunits to ensure only one image is fully in the viewport at a time, but which image is it? To determine if an image is visible, let’s write anisVisible()function that tests an element’s location in the viewport against the window’sinnerHeight. We’ll use the nativegetBoundingClientRect()method to return a DOMRect object for each element and a destructuring assignment to pullbottomandtopvalues out of that object.
function isVisible(element) {
  const { bottom, top } = element.getBoundingClientRect();
  return bottom > 0 && top < window.innerHeight;
}
- Now that we have a visibility checker, we’ll call it on each item in our
imagesarray as the user scrolls. We’ll use lodash’sfilter()method to return the element that passes theisVisible()check.
Calling functions on the window’s raw scroll event is computationally expensive because of how frequently the scroll event is emitted. To combat this, we’ll pull in another lodash method: throttle(). Throttling a function call does exactly as you’d expect; it restricts the number of times func can be called to once per every N milliseconds. For our purposes, let’s make N 150ms.
function getVisibleImage() {
  return filter(images, isVisible);
}

window.addEventListener('scroll', throttle(getVisibleImage, 150), false);
- Now that the stage is set, let’s work on the Philips Hue integration. Philips doesn’t have an officially supported JavaScript SDK, so we’ll interface with the API directly using a promise-based HTTP client called axios.
The first request we’ll make is a get to meethue.com/api/nupnp to retrieve our bridge’s IP address. If there isn’t a bridge connected to your local network, this request will return an empty array. If there is a bridge, this request will return its id and internalipaddress. Let’s store the value of internalipaddress in localStorage as hue_ip.
Next, we need to create a user account on our bridge so we can actually use the API. To do this, we’ll make a post request to http://${ip}/api, with a payload of { "devicetype": "hue-gallery#my-device" }. This request requires the link button on the bridge to be pressed in the last 30 seconds to authorize the user creation. On success, it’ll return a random username string that we’ll store in localStorage as hue_username.
- Once we’ve registered a user on our bridge, we can start reading and writing data. Make another
getrequest to the Hue API, this time to the/api/{username}/groupsendpoint. In the response, we’ll receive a list of groups currently registered with our bridge. From these groups, we’ll cache eachlightsarray inlocalStorage, so we know which light IDs belong to which group. Next, we’ll iterate over the list of groups to construct a dropdown menu in the DOM with the same techniques we used earlier to show colour swatches.
function buildRoomsDropdown(rooms) {
  const roomsList = document.createDocumentFragment();
  const container = document.getElementById('rooms-container');
  const roomsDropdown = document.createElement('select');
  roomsDropdown.setAttribute('id', 'rooms-dropdown');

  // By default we want to set first value as current room
  localStorage.setItem('hue_room', rooms[0].id);

  forEach(rooms, (room) => {
    const option = document.createElement('option');
    option.textContent = room.name;
    option.setAttribute('value', room.id);
    roomsList.appendChild(option);
  });

  roomsDropdown.appendChild(roomsList);
  container.appendChild(roomsDropdown);

  roomsDropdown.addEventListener(
    'change',
    (e) => {
      localStorage.setItem('hue_room', e.target.value);
    },
    false
  );
}
- Now it’s time to put the pieces together. Start by updating the
getVisibleImage()function we wrote earlier to lookup an image’s palette from ourcolorCache. We’ll pass the resulting array of RGB arrays to a new function calledsetRoomColor().
setRoomColor() takes the array of RGB values and converts it to CIE xy coordinates, in order to communicate with the Hue API. This function also reaches into localStorage to determine which group is selected, and the light IDs that are associated with that group. From there, setRoomColor() counts the number of lights in the group and distributes the colour palette accordingly. If the group contains three lights or less, each light receives one colour in the palette. If there are more than three lights in a group, half of the lights will receive the most dominant colour in the palette, and the other half will split the remaining colours.
- As
setRoomColor()determines the best distribution of colours and lights, it pushessetLightColor()function calls into anapiCallsarray. The Hue API doesn’t currently support changing the colour of multiple lights at once, unless you’re changing all the lights in a group the same value. We’re looking to apply a palette of colours to a group of lights, so this bit of extra work is necessary.
At the end of the setRoomColor() function, we batch our Hue API requests by passing the apiCalls array to axios.all().
Each setLightColor() call accepts a light ID and CIE xy colour coordinates from setRoomColor(). The function then pulls our hue_ip and hue_username from localStorage, constructs a request URL, and puts {on: true, xy}. With that, like magic, the room becomes alive.
function setLightColor(id, xy) {
  const ip = localStorage.getItem('hue_ip');
  const username = localStorage.getItem('hue_username');

  return axios.put(`http://${ip}/api/${username}/lights/${id}/state`, {
    on: true,
    xy,
  });
}
Footnotes
-
ZigBee is a wireless protocol commonly used for mesh networks with simple data requirements. In a mesh network, nodes are interconnected and each acts as a wireless transceiver and repeater. ZigBee supports tens of thousands of nodes per network and consumes very little power, but it can only transfer simple packets of data. ↩
-
Thank you Brandon Pierce, Rebekah Wolf, and Tim Hetland for their help. ↩